Yes, laying paving stones on your own is a breeze. Paving slabs are as simple as digging a few holes, purchasing some mortar, and applying it to the ground. No more questions, is there?
It would be much easier if it were. Creating a long-lasting patio needs meticulous preparation of the sub-base, careful mortar mixing, and meticulous paver installation.
However, Simply Paving is here to help. You may save some money on hiring a contractor by following our step-by-step instructions in our how-to guide for installing a patio.
Prepare the Site First
Getting started on your ideal patio may be tempting, but don’t skip the most critical step: constructing the foundation. In other words, we’re talking about creating a great landscape space that will serve as a blank canvas for your paving endeavours.
Below, you’ll find a detailed explanation of how to prepare your paving area.
Tools Needed
- Measuring-tape
- Wooden pegs
- Shovel
- Spirit-level
- Garden rake
- Garden roller/tamper
- Sub base
How to Prepare the Pavers Area
The first step is to measure the area you want to pave and mark it out with wooden pegs.
Dig at least 200mm into the marked-out area to remove all plants, roots, and soils.
To ensure that your pavement drains properly, use your spirit level to determine a gradient of 1 in 80. Surface water may now be drained away because of this fall.
After levelling the ground with a rake, use a garden roller/tamper to compact the whole area. Make sure the surface is level by using a spirit level.
Last but not least, add 150mm of MOT Type 1, compact it to 100mm, and then put your pavers on top of it. The location is now ready for paver installation.
How to Lay the Slabs
Our instructions will help you lay any sort of pavement slab, from concrete to natural stone, using the manner outlined below. In the case of porcelain paving slabs, you will need to use a different technique of installation.
Prior to placing any pavers, you must prepare a fresh bed of mortar for each one. As a result, you may lay your patio without worrying about the mortar drying out in the meanwhile.
In a wheelbarrow, just combine four parts fine-grained sand to one part cement, as per our mixing mortar instructions.
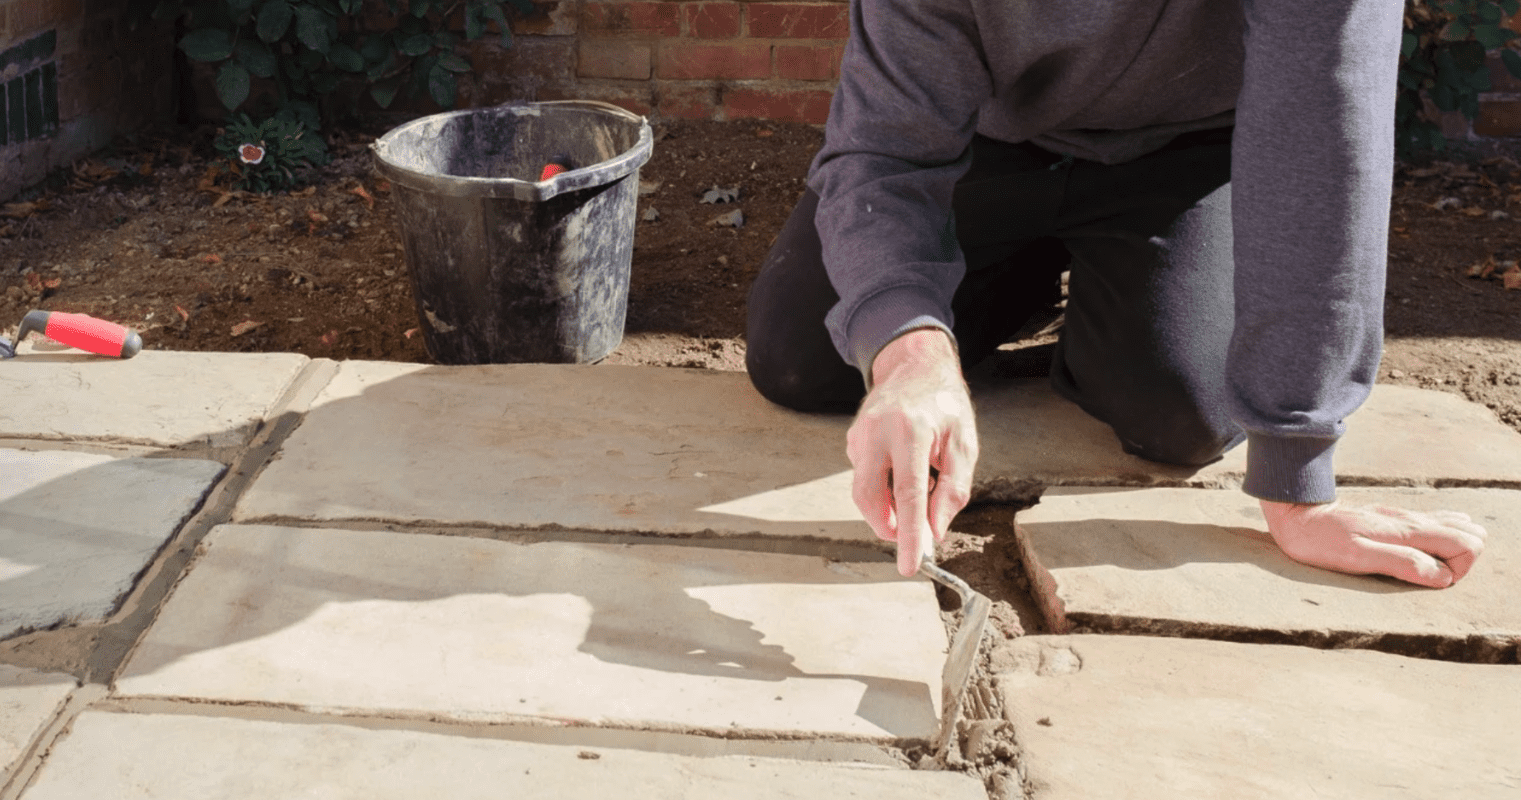
Position your first flag in place by troweling on enough mortar mix to fill one paver’s void on the sub-base (enough for one paver). Avoid getting mortar mix on your paver’s surface, as this may leave a permanent stain.
Using a rubber mallet, tap the paver into place on the mortar bed. With a spirit level, ensure that the surface is level before continuing onto the next paver.
If your pavers have a 5mm to 15mm space between them, you’ll need to examine the product’s instructions.
To ensure that all of the pavers are firmly in place, go back to steps 1 through 4. We have a guide on how to cut paving slabs if you need to reduce the size of any of your pavers
If you’re afraid about rain, tarp them up and let them air dry for at least 24 hours.
When the time is up, use the jointing compound to fill up the spaces between your pavers. This helps to keep your pavers in place. All you have to do now is use the hard-bristled brush to remove any remaining compound.
Now you will have a great area to use for garden furniture or your barbeque. Enjoy.
See our post on the importance of kitchen design as well.